Tutorial on how to blur the background of a picture
I have taken some good pictures, but sometimes the background is too focused and distracts from the close-up of the subject matter. You can blur the background in photoshop, and I will walk you through the steps. I am using photoshop elements 7, but I’m sure that the steps would be similar in other programs.
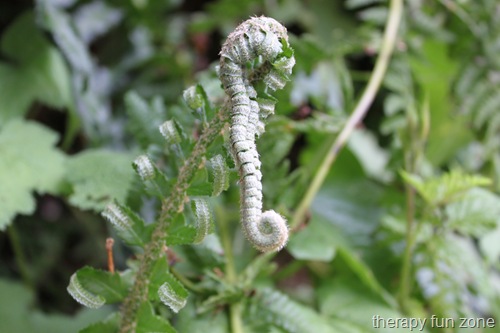
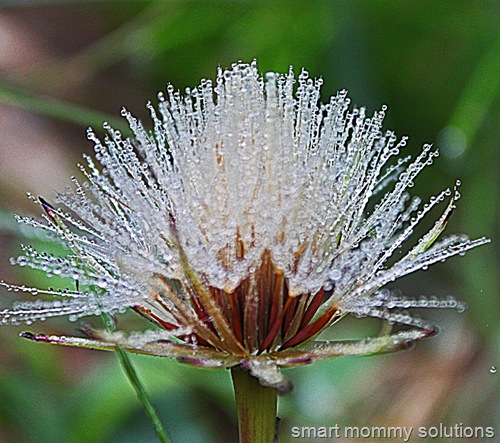
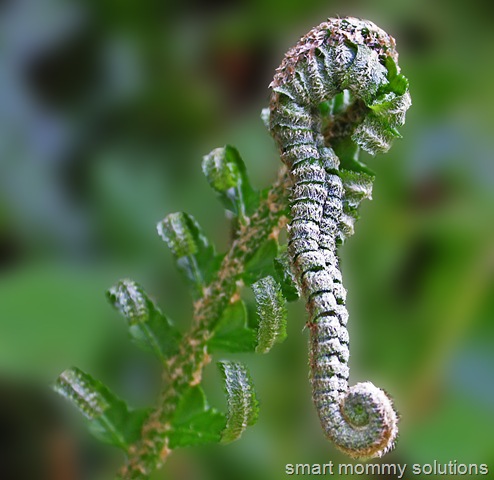
Here is a picture of a fern straight out of the camera.
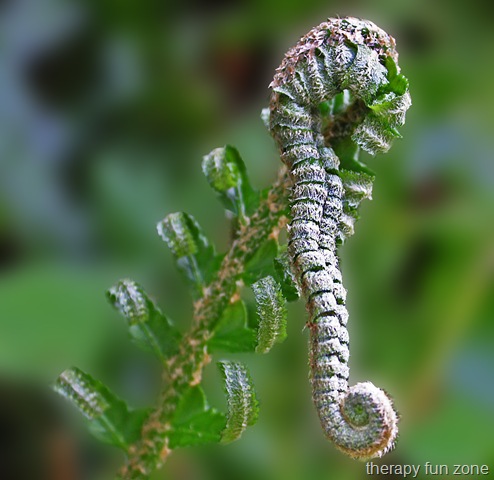
And here is the same picture with some extra blur in the background.
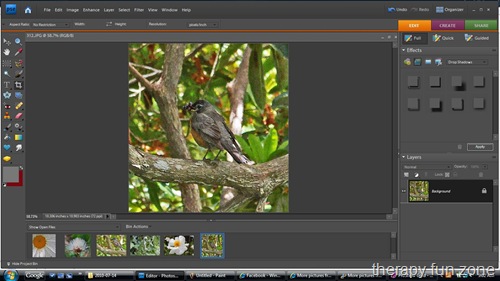
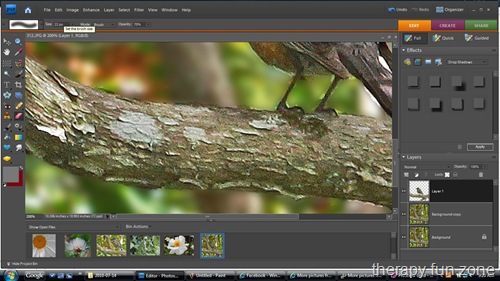
Open your picture in photoshop, and select the part of the picture that you want to be in focus. You can select using the selection brush or quick selection tool. I will often use the quick selection tool until it starts selelcting troo much, then switch to the regular selection tool. You move your selection tool around the object while holding down the button on the mouse. To take parts away from your selection, you hold down the Alt key while moving around with the left click button down on your mouse.
Once the area that you want to be in focus is selected, you copy it by right clicking and selecting copy. Next you create a new layer. This can be done by either going up to layers on the top too bar and selecting new layer. You could also go to the right palette and click on a little icon for layers.
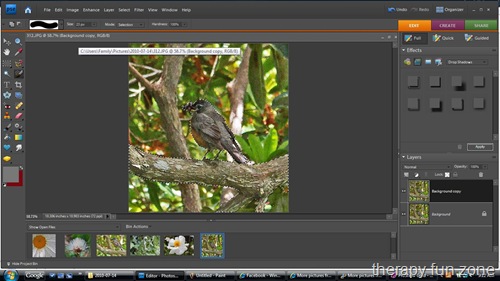
Once you have a new layer, you paste your selected image that you copied into the new layer. make sure that you are on this new layer when you do this.
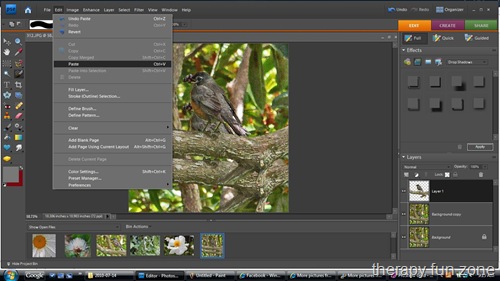
Remember whenever you are working with layer, you have to have the layer that you want to work on selected.
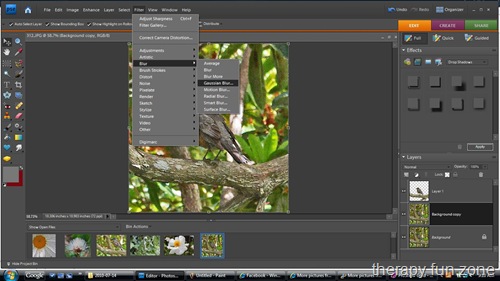
Next step is to go back to your background and then go up to layers in the top toolbar and make a layer from the background.
You can then go to the layer with the background copy, go up to effects, and select blur, and choose gaussian blur. Slide the bar to get the amount of blur on the background that you would like.
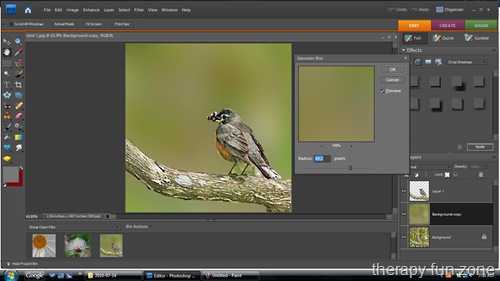
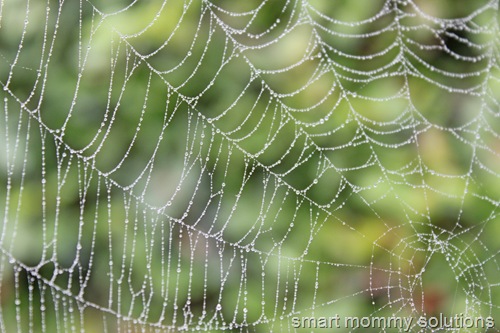
You want to have the right amount of blur. You can have too much blur.
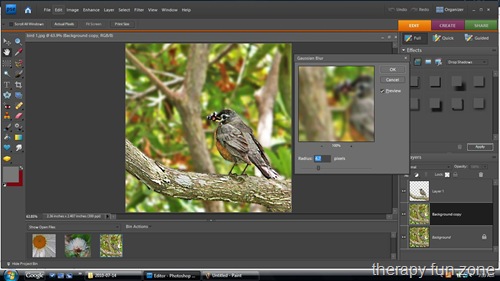
But you want to have just the right amount of blur.
Your selected image layer should be on top of the background so it will stay clear. You then need to use a soft eraser brush at about 50-60% transparency and erase the hard lines around your selected image. You want it to look like it is a part of the blurry background rather than just copied and pasted onto it. You may have to play around with tis to get it looking right. Remember, if you don’t get it right the first time, you can always start again by undoing or revert.
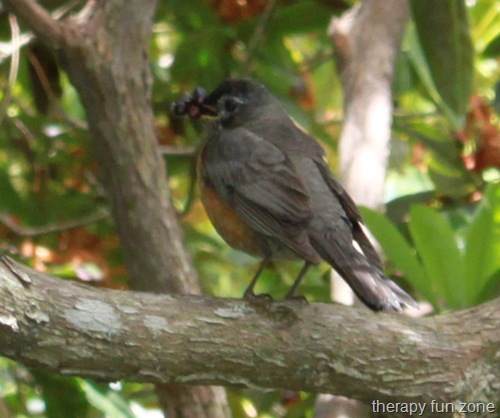
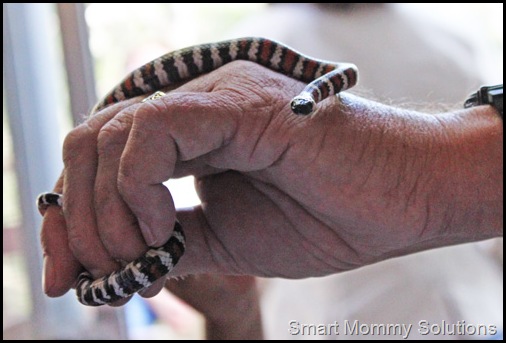
This picture’s before.
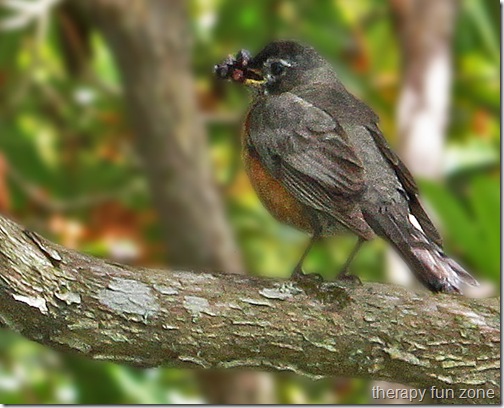
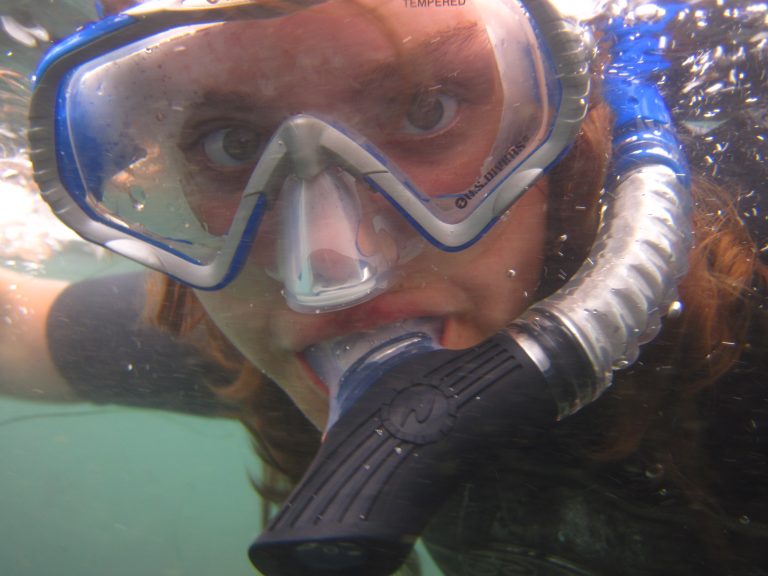
And here is the after with some extra background blur.

Great tutorial! I’ve tried this before with varying degrees of success. 🙂
I see you are using the eraser, though. I have a tutorial on my blog this week on how to use layer masks in photoshop elements (yes, you can!) which would be perfect for your process because if you make a mistake, you can just paint the effect back in in the spot you need instead of hitting undo a bunch of times (and loosing all the steps after the “undo”.)
Check it out, and happy photoshopping!
http://mischiefandlaughs.blogspot.com/2010/09/layer-masks-in-photoshop-elements.html
Neat trick. 🙂
Awesome tutorial!! Thank you so much for putting this up. This is the Orton effect and I have been trying to figure this out this week in Gimp. I’ll try this effect for before and after next week!
The blur looks different than Bokeh, it’s so cool!
Fantastic tutorial and images. I’m totally stoked as this is the program I currently use too. THANKS!!!
Thank you for a great tutorial,
It really made a difference, that edited photo of a fern looks so different now
I love the edit! And great tutorial!
Thanks for the tutorial, and the edit looks great!
Great tutorial, thanks for sharing!